
Right Horn, Left Horn, Saddle Horn

Power of Patience
March 14, 2021
Cowboy Medicine- A Basic Overview of First Aid
March 25, 2021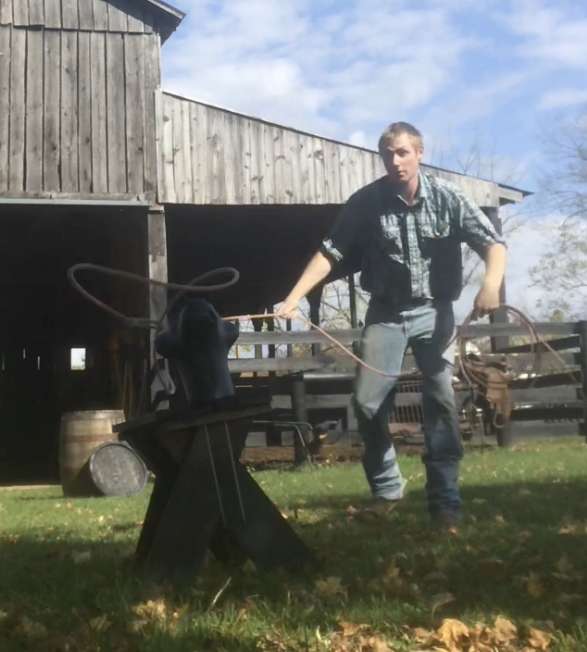
Early on when I was learning to swing a rope, I struggled with shot placement and aim. I could form a loop just fine, my swing was progressing nicely, but I could not quite get my throw to catch the target. This is a very common issue with new and seasoned ropers alike, with the solution being you just need to throw a thousand loops then throw a thousand more. Practice will make competent. However, there are a few tips and tricks passed on that helped me when I was starting out, and I hope they help you as well!
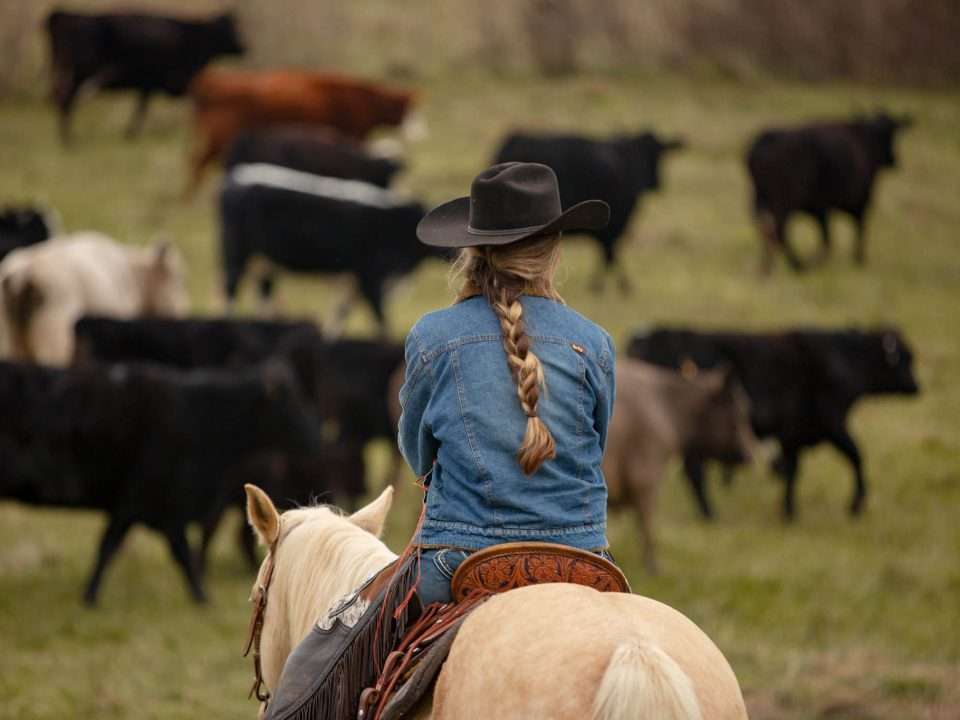
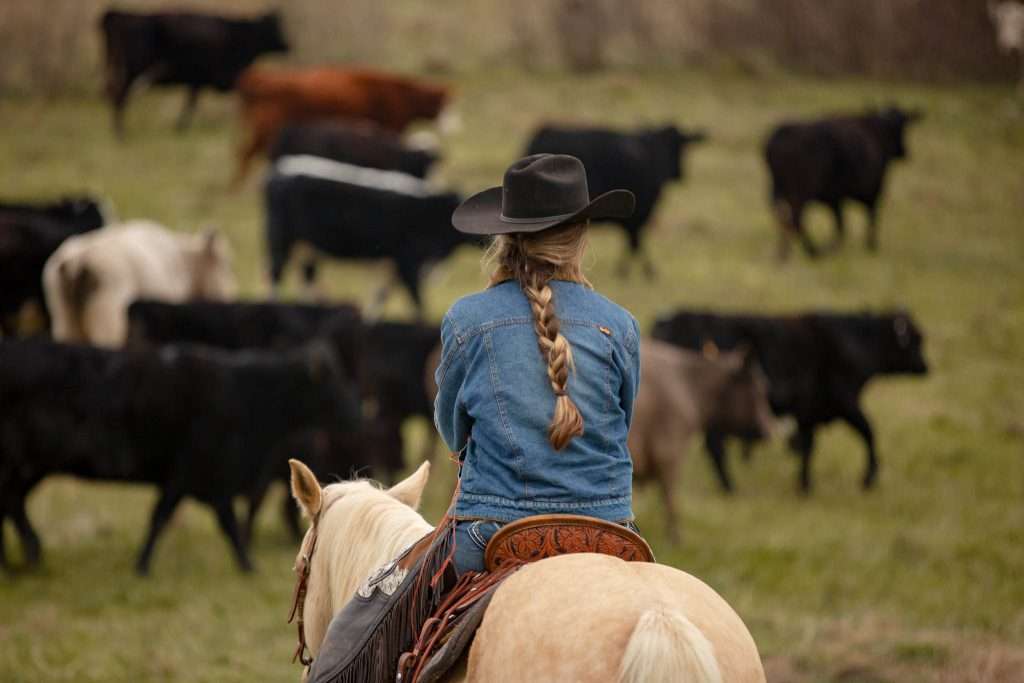
“Right horn, left horn, saddle horn” is a saying an old friend used to reiterate to me over and over and over when it came to roping. It is the order of events for all head ropers and also working cowboys: the loop catches the right horn, swinging itself to the left horn, leading to your dally which is the saddle horn. When you make your throw, it also is the path your swinging arm takes as a right handed roper: from right to left. The throwing hand essentially traces this path and allows for a fluid motion starting at the release and ending at dallying the horn from right to left as well! Keeping this order in mind, you will understand better how the catch actually works.
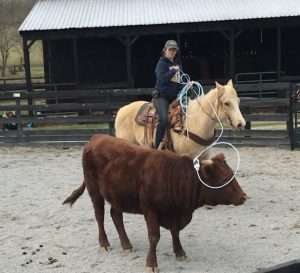
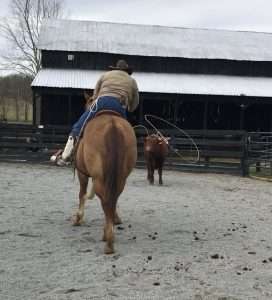
Both of the images above are screenshots from a video, both ropers caught. Notice the flow of the rope, and notice the horns. From the perspective of the roper, both are right horn, left horn, then they continued on to dally the saddle horn.
Dead Center- When roping anything, the point of aim is the dead center of the object you are trying to rope. We will take a steer head for example: you want to throw your loop at the dead center of the skull, knowing that the loop will catch from right to left. The momentum behind the rope, if thrown properly, will cause the rope to wrap around the object and make the cleanest catch possible! The same principle applies for non-horned targets.
 There will be a video link later on in the post when I am able to attach, but this throw shows the loop coming in to the point of aim, being the center of the calf dummy skull. Granted, this particular throw was a Lazo del Oro, or Ocean Wave throw which the loop goes all the way around the trick-roper before being released to the target, but aim is the same regardless!
Point at the Target- This made a lot of sense to me when I first started, and during our clinics and lessons seemed to help a lot of novice ropers make more catches. Pointing at your target at the end of each throw simply acts on your body’s hand/eye coordination. When you throw a baseball, for example, you learn by releasing the ball and pointing at where you want the ball to go. This creates a connection in your brain for your body to follow, as well as gives you feedback to whether or not you are on target. If you throw the ball and miss, you likely are not pointing at the target either. The same thing with throwing a rope; point to your target at the end of each throw. Build your loop, swing once or twice, throw, and point. You will be pleasantly surprised at how much more you catch!
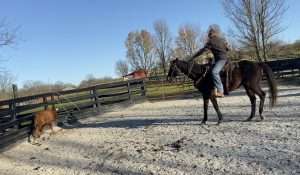 In a majority of my throws that are filmed, there are still traces of the point that can be seen. This screenshot of a catch video displays exactly that! I had my point of aim, on release I pointed at my target and the loop presented perfectly. The hand/eye coordination makes sure your body adjusts and performs as you want. The same philosophy is used when instructing a beginner rider learning to turn and look, your body goes where your eyes go. As all you barrel racers say: “look look look!”
————————————————————————————————————————————————————————————————————————–
Those tips should help you land more shots and make more catches, when practiced. This leads to a few drills that will help!
Take note, all drills should be done on the ground. When you are mounted on horse, that is not the time to practice your throws as you should be competent prior to even hitting the saddle. Mounted is time to work on your horse and positioning, not your swing.
Drill A- Ladders
This drill is all about repetition in order to build muscle memory.
Set up your target (dummy, fence post, trailer hitch, etc.). This can be done in increments of 10, 20, or 100- whatever you feel like doing. The objective is to catch every throw until you meet your chosen quota, but every miss you have to start all over. It is used frequently in golf, basketball, firearms training, and many other sports!
Get into good position, build your loop, swing as many times as needed, and make the catch. Do not stop until you met your quota!
Drill B- Quick-draw
This is a rapid drill to work on the “draw”, or time from loop form to throw. It is especially helpful for team ropers and can be very helpful for cowboys/cowgirls needing to make minimal swings to prevent herd spook.
Set up your target (dummy, fence post, trailer hitch, etc.). Build your loop and prepare your swing at shoulder rest or low rest. You get one swing before you have to throw. Integrate this in with a low number count ladder drill, and you will have one heck of a quick-draw shot in no time!
Drill C- Around the World
This drill requires a lot of room but will make the roper confident with throws no matter the angle. Working cowboys/cowgirls do not always get the perfect position right at the target’s hip, most times we make longer throws and from odd angles.
Set up your target (dummy, fence post, trailer hitch, etc.) Start in good position, build your loop, and catch. After each catch, start moving around the target after each catch until you can go a full clock face without missing. This will build confidence in your abilities as well as make you a versatile roper. Ranch Ropers in competition can utilize this type of drill to be able to catch their assigned target via a forehand swing or a reverse/hoola hand.
Drill D- Water Glasses
This drill is to reinforce a quiet and still non-throwing hand. It is a good summertime drill as you likely will be getting wet!
Set up your target (dummy, fence post, trailer hitch, etc.). Hold your coils and a half full cup/glass of water in your non-throwing hand. Practice any of the drills listed above, make your throws and keep your non-throwing hand as still as possible to avoid getting wet. Your horse will thank you as you you wont be tugging your reins nearly as much after this drill!
A demonstration of each drill can be seen at here

